
Case study: record a VS Code walkthrough
Goal: produce a short recording that shows a real action in VS Code, with a highlight and a short explanation at each step.
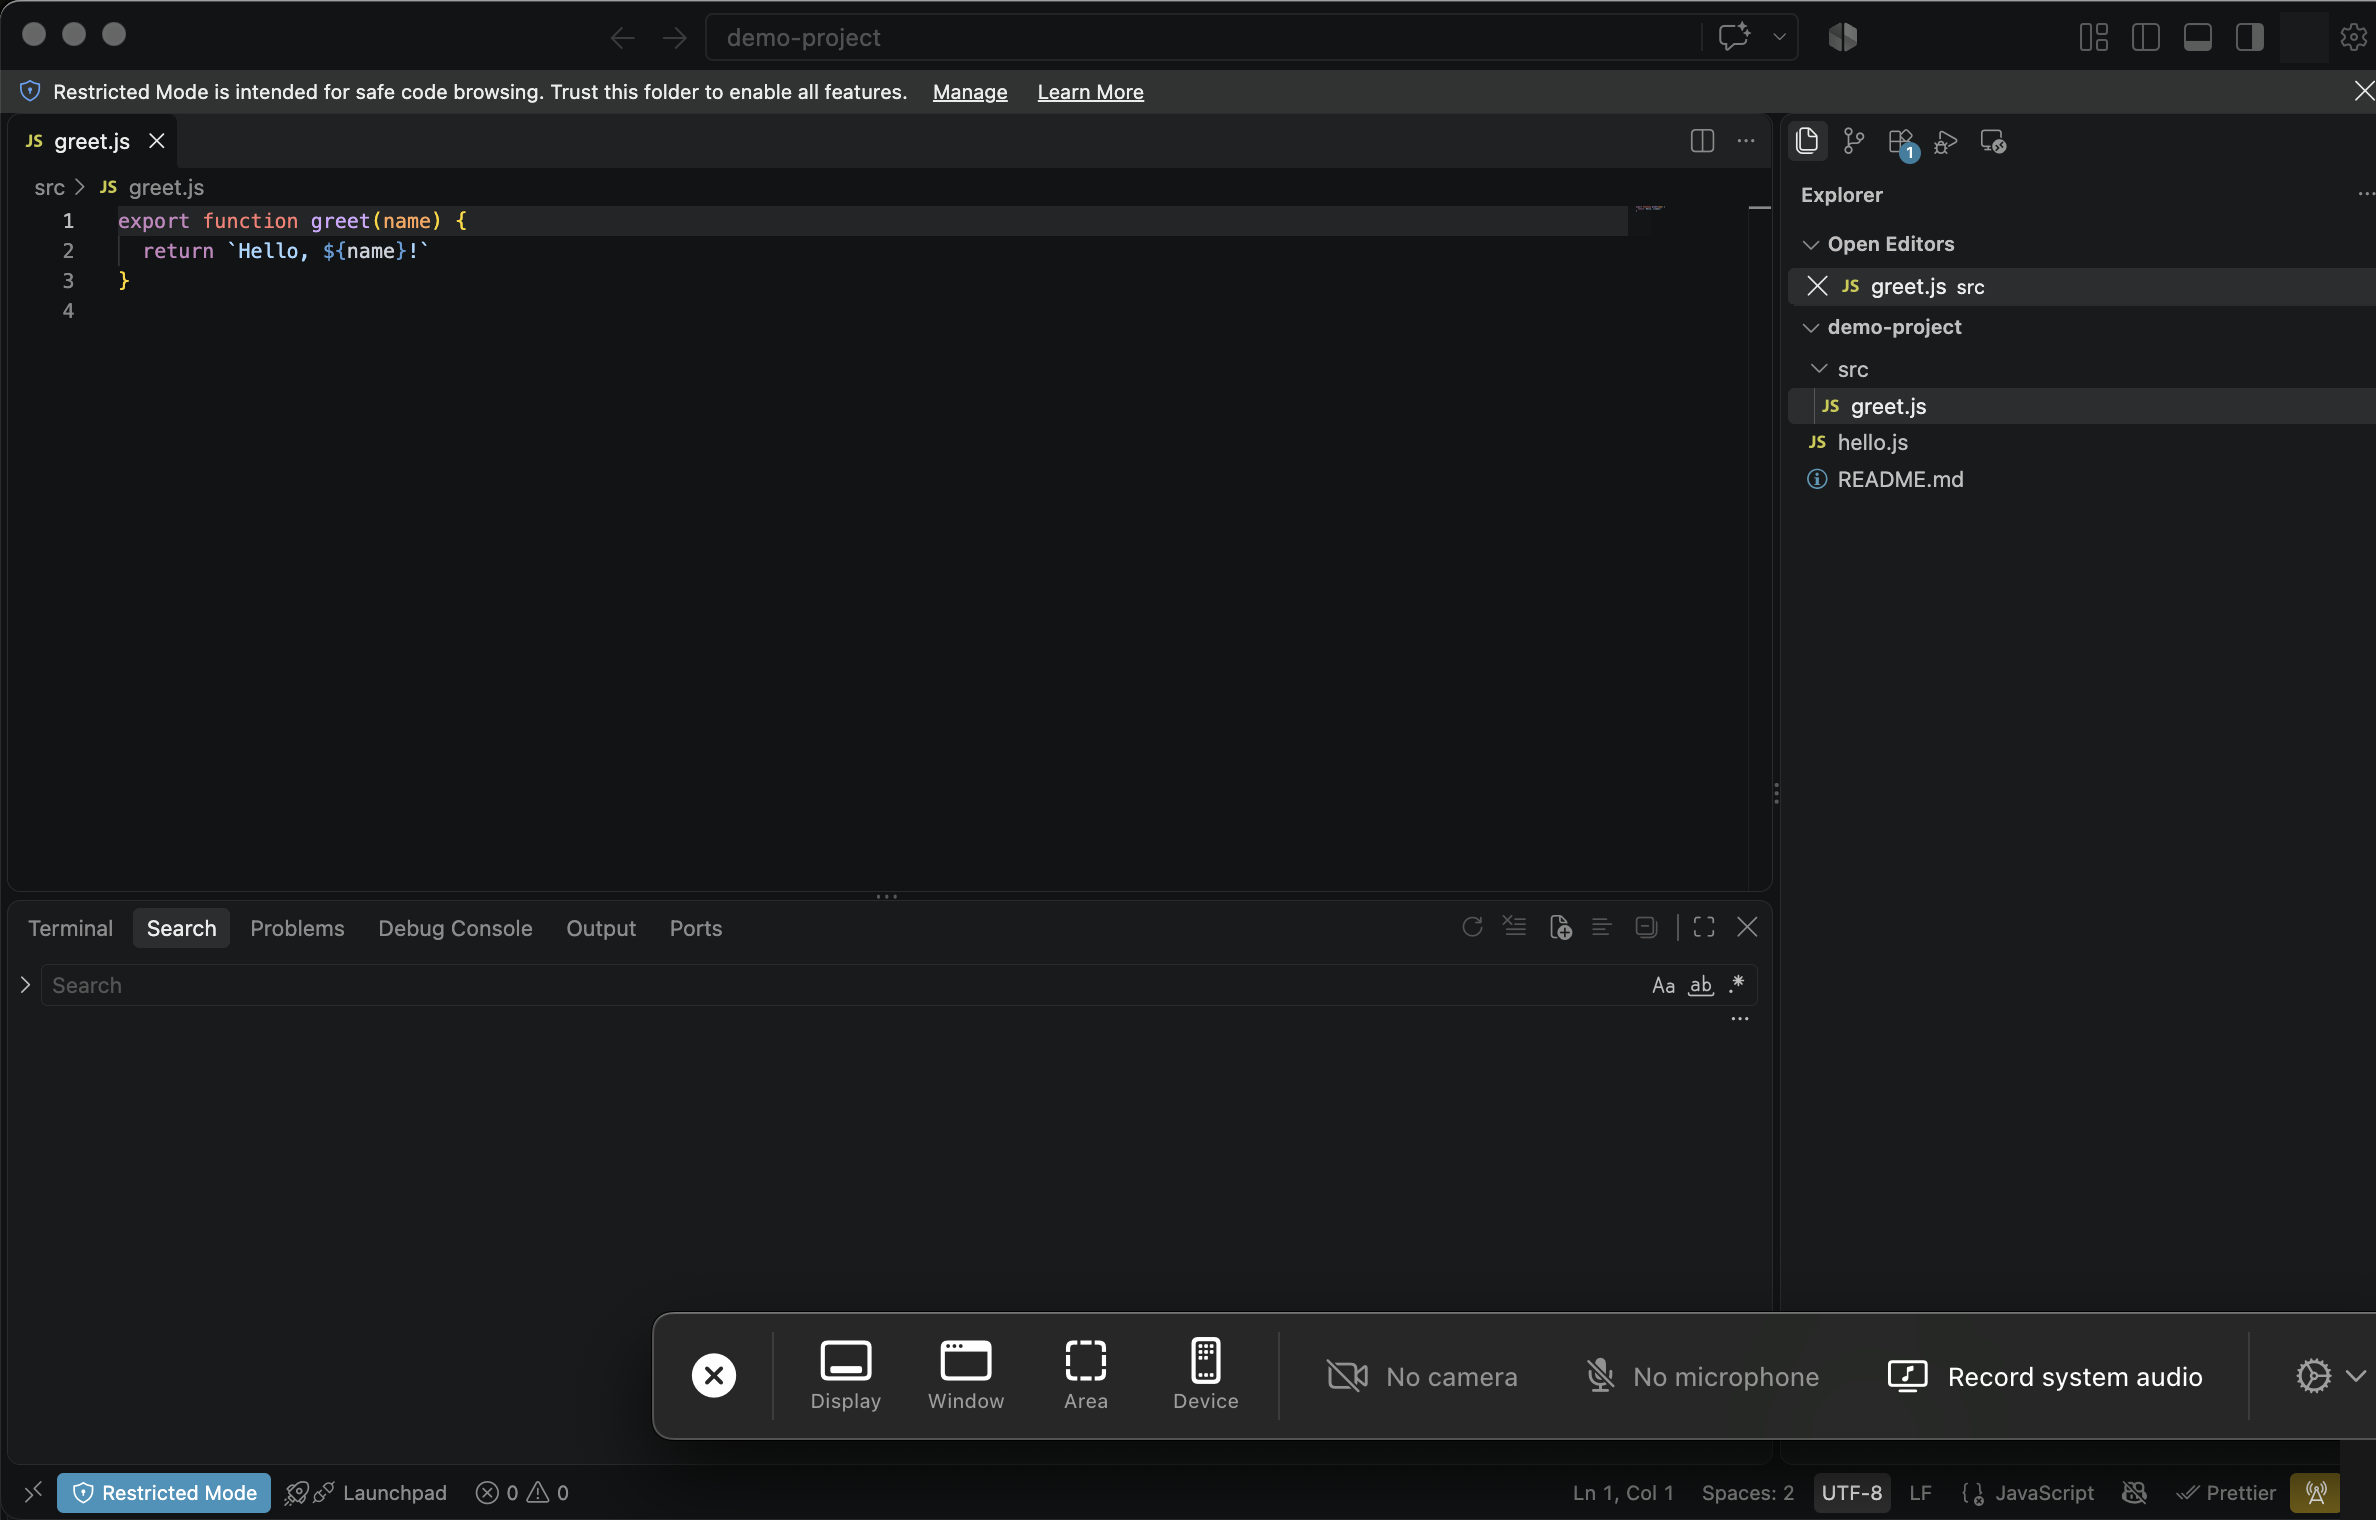
This procedure comes from a real attempt: the Screen Studio recording picker opened, recording never started, and the run still reported success. That's why every step below checks the result instead of trusting that a command was sent. The steps are a procedure you can repeat, not a replay of that session.
Before you start: install the desktop assistant and give it the Accessibility and Screen Recording permissions listed in Before you start. The optional Screen Studio app is used for the recording itself.
1. Prepare a clean scene
- Open a small demo project in VS Code. Don't use a real client project: screen captures may be sent to a vision provider.
- Choose one action to teach, such as opening the command palette.
- Make sure the controls you'll use are visible.
- Move unrelated windows out of the way.
2. Start the recording and check it
- Open Screen Studio.
- Select the VS Code window (or the screen) in its recording picker.
- Start recording.
- Check in Screen Studio itself that it is recording before you begin the demonstration. An open picker, or a shortcut that was sent, doesn't prove recording started. Small menu-bar icons proved unreliable as evidence, too.
3. Point, then explain
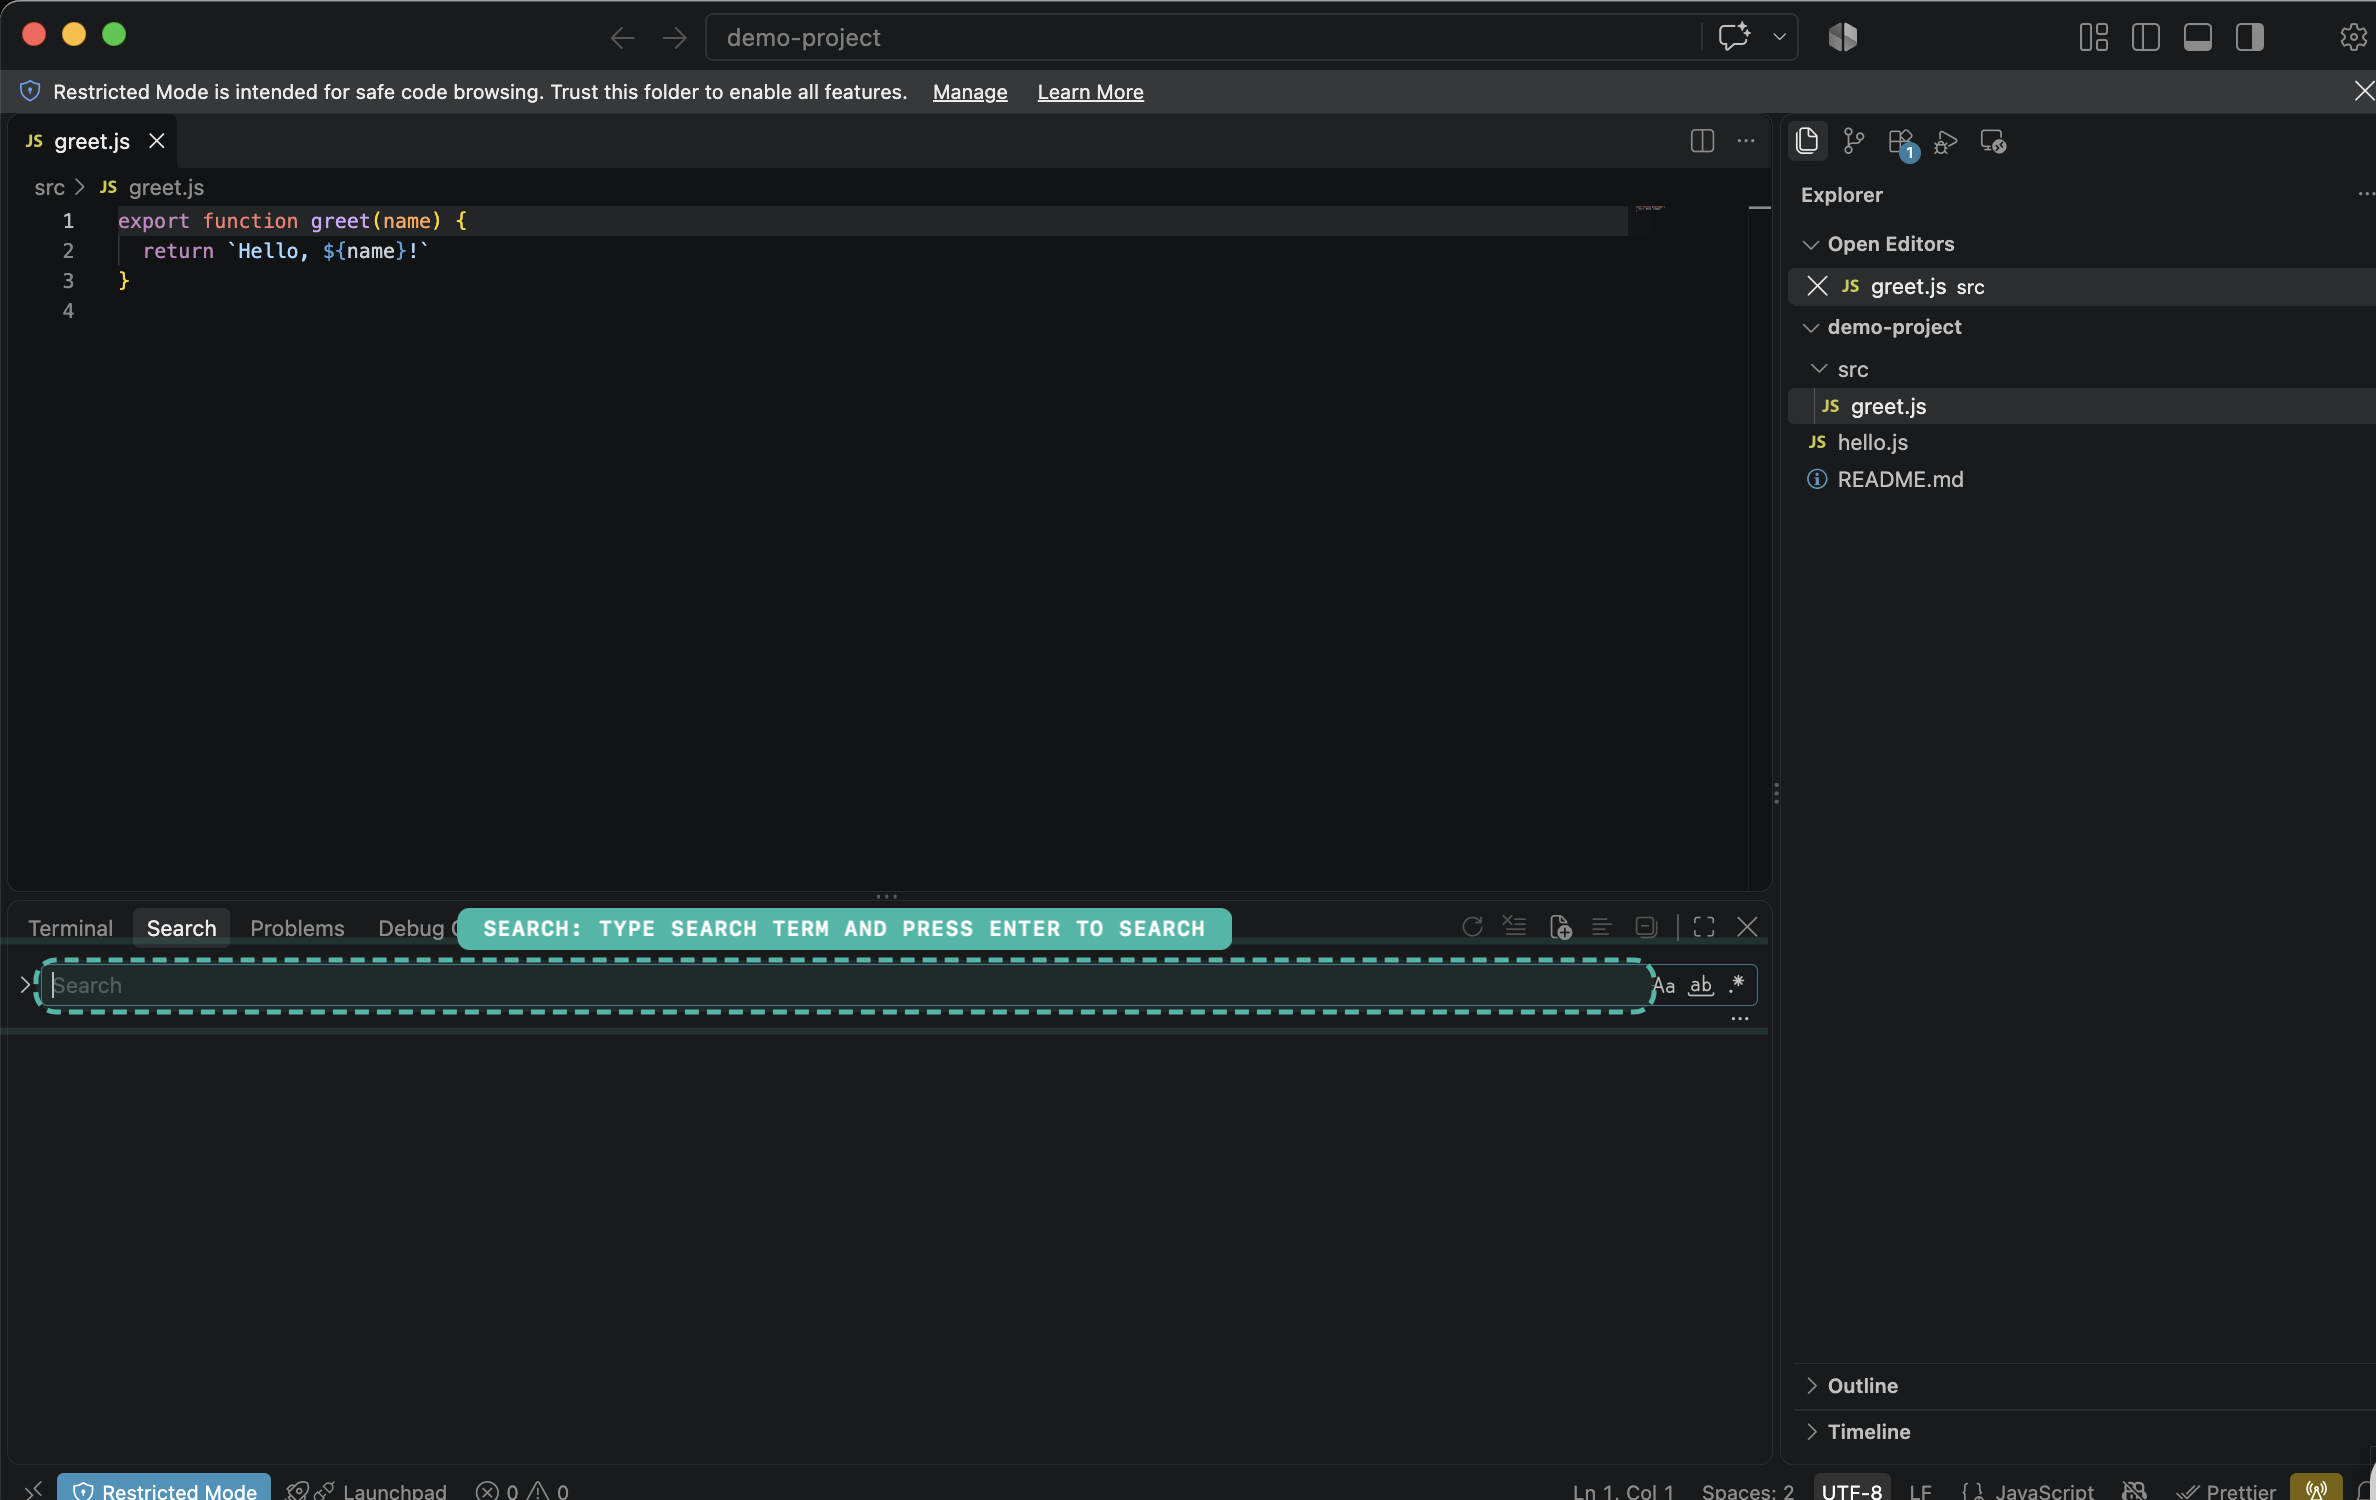
- Terminal: with VS Code visible, ask AgentX to find a control:shAgentX highlights the best match on screen. It never clicks.
agentx point "the search field" - Check that the highlight sits on the control you meant.
- Terminal: ask what is on screen:sh
agentx look "What panel is open in VS Code?" --json - Terminal: check that a step worked by stating what should be true:shIt exits with
agentx look "The command palette is open" --verify --json0when the claim is confirmed,3when it's refuted and4when it can't tell. An error (for example a missing key) exits with1.
point needs the ui-element seat: a small, fixed-choice question AgentX hands to its fast decision model. See Jev and typed decisions. look sends a picture of the window to the vision provider you configured, so use a demo workspace.
4. Stop, inspect, then annotate
- Stop the recording in Screen Studio.
- Open the saved clip.
- Scrub through the start and the end, and check that the VS Code action is visible and that the clip has the length you expect.
- Add annotations that explain each step. Keep labels away from the control you're showing.
For the written guide, pair each recorded action with:
- Do: the click, keystroke or command.
- Look for: the visible result that confirms it worked.
- Why: one sentence of explanation.
- If it fails: a concrete recovery step.
How AgentX can automate a lesson
A lesson is a script that narrates, finds and highlights controls, clicks, types, presses keys and checks the result. Lessons act on real applications, so read one before you run it. There is no ready-made VS Code lesson yet.
- Terminal: list the lessons in your installation:sh
agentx teach - Terminal: see every option:sh
agentx teach --help
--recordrecords with the macOSscreencapturetool, not Screen Studio.--no-speakonly turns off the spoken narration. It does not stop clicks or typing.- A lesson stops when a required check comes back as not confirmed. If the check itself fails with an error, the lesson may carry on, so always watch the recording yourself before calling a lesson a success.
See the architecture for how seeing the screen, typed decisions and native actions fit together.
Check it worked
- The saved clip plays from start to end.
- The VS Code action you chose is visible in it.
agentx look "…" --verifyreturned exit code0for the step you checked. In the terminal,echo $?right after the command prints it.
If something is wrong
- The clip is empty or missing: recording never started. Repeat step 2 and check the recorder's state before you begin.
agentx pointhighlights nothing or the wrong control: make sure the control is visible and not covered. If it reports that the decision is unavailable, set up theui-elementseat in Jev and typed decisions.agentx lookfails straight away: it needs an OpenRouter key; see Computer use.--verifyexits with4(unknown): the model couldn't tell from the picture. Make the result bigger on screen, or use--screento capture the whole screen, then try again.- Nothing happens on screen: check the Accessibility and Screen Recording permissions in System Settings › Privacy & Security.